App User Manual
‣ 1 Dashboard
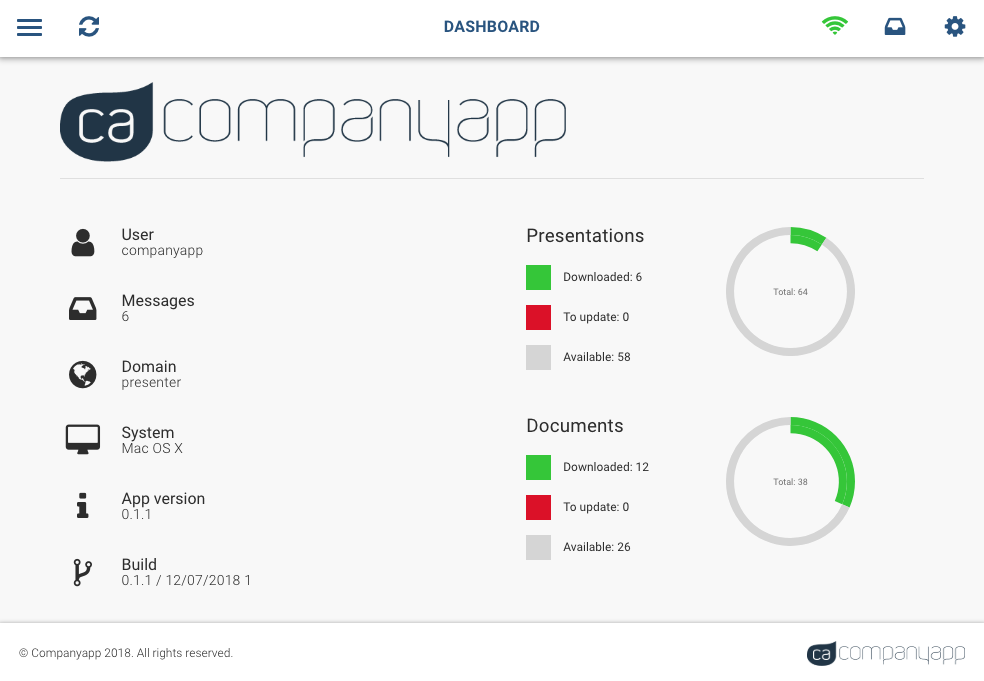
See above, the Dashboard for the app. This gives you all the information about your messages, presentations and documents on your domain.
 Left Menu: See section 2
![]() Sync Button: This button
syncs your app to the system, to check if there is any new content available, or if there
are any updates to existing content. It only works when your app has an nternet connection.
We strongly advise, that when downloading content, you make sure you have a good, solid
internet connection.
Sync Button: This button
syncs your app to the system, to check if there is any new content available, or if there
are any updates to existing content. It only works when your app has an nternet connection.
We strongly advise, that when downloading content, you make sure you have a good, solid
internet connection.
![]() Message Inbox: Allows you
to access any of your email messages from your Administrator on the app.
Message Inbox: Allows you
to access any of your email messages from your Administrator on the app.
![]() Cog Menu: This lets you
access the Admin, Settings, Help, Logout etc sections of the app.
Cog Menu: This lets you
access the Admin, Settings, Help, Logout etc sections of the app.
![]() Internet access on/off
icon: When the icon is green, internet access is available on your device. When the
icon is red, the device is not connected to the internet and you can only access your
downloaded presentations and documents.
Internet access on/off
icon: When the icon is green, internet access is available on your device. When the
icon is red, the device is not connected to the internet and you can only access your
downloaded presentations and documents.
‣ 2 Left Menu
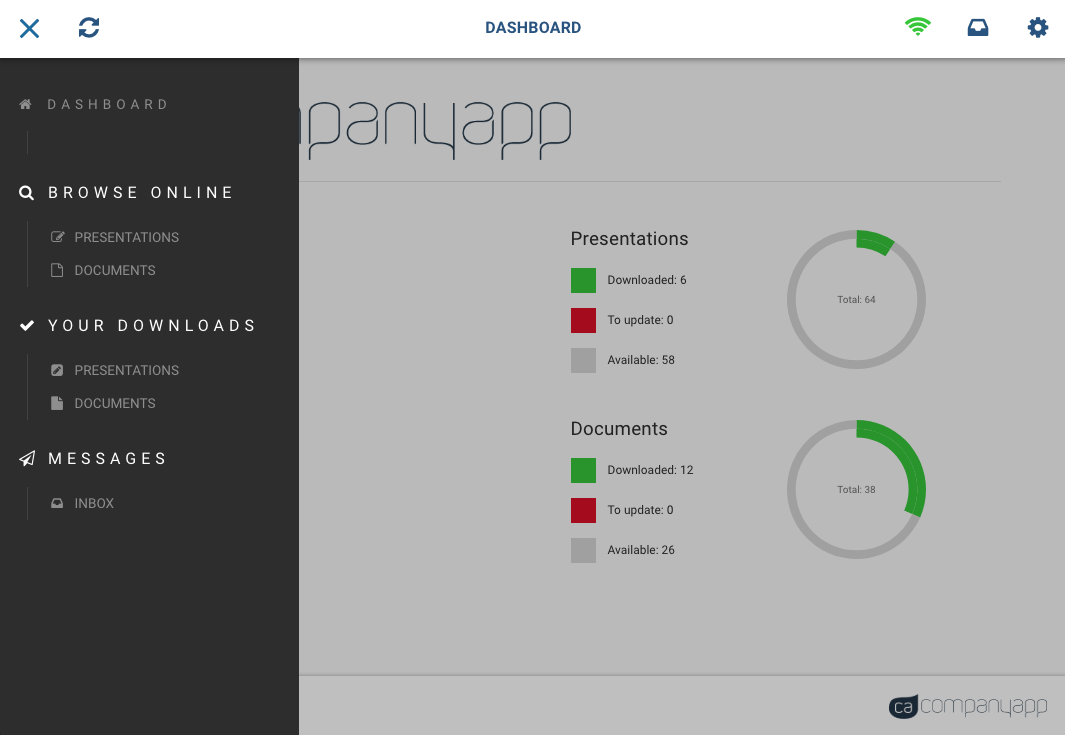
The left menu displays the navigation system, which breaks down as follows:
Dashboard See section 1
Browse Online
– Presentations: All available presentations accessable on your domain
– Documents: All available documents accessable on your domain
Your Downloads
– Presentations: Your personal collection of downloaded presentations
– Documents: Your personal collection of downloaded documents
Messages
– Inbox: Messages sent to you by your administrator
‣ 3 Browse Presentations (online)
In this section you can browse and preview all the presentations available on your domain. You can filter your search by the below and reset your search if needed too.
- #ID or title: e.g. ‘#1186’ or ‘Inspiring Design Quotes’
- Author: If you know who built the presentation, then you can filter using this
functionality
- Libraries:
- Core: Main presentations library which has all key/major presentations for your domain
- Shared: Any presentation that a colleague has shared with you
- User: Your own personal presentations
- Categories: e.g. by brand or product
- Status:
- Published (Full): This publishes the presentation to the web and also makes it available for download on the iPad.
- Published (Web): This only publishes the presentation for the web for viewing in a browser. It is not available for download to an iPad.
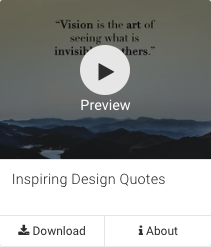
When previewing a presentation simply click the thumbnail and a ‘preview’ button will appear. Next, press this button and it will take you onto a screen like below:

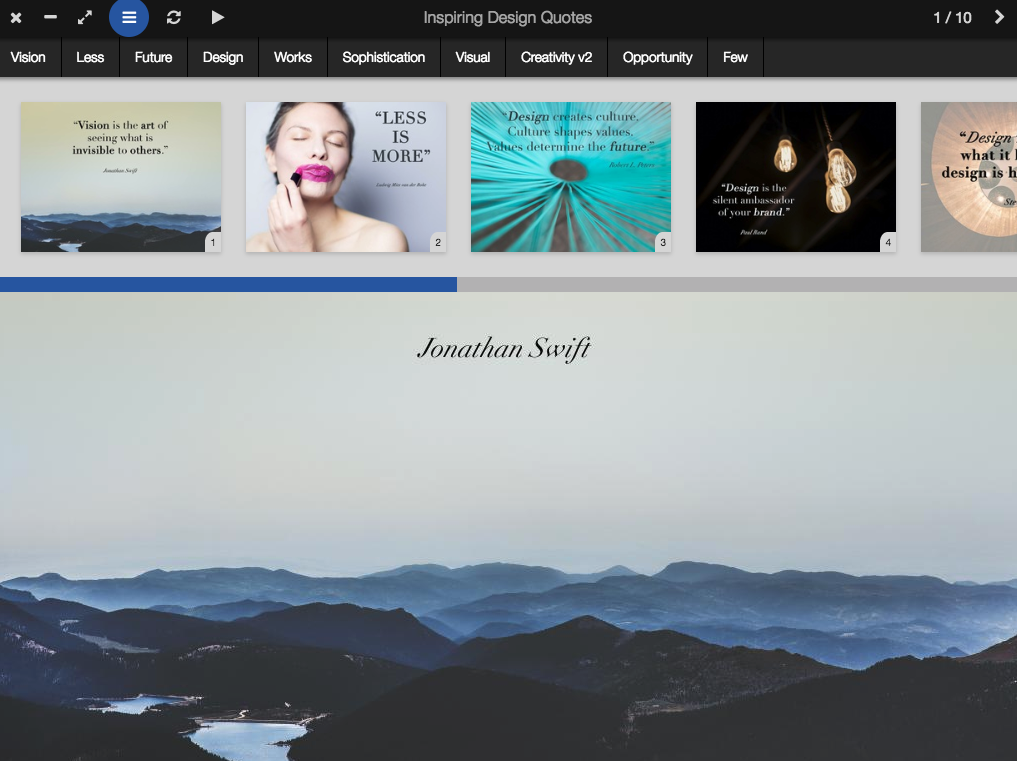
Here you can explore the presentation to see if the presentation is for your requirement or
not:
a) On iPad, simply swipe left and right to browse the contents of the presentation or
swipe down the screen to reveal the navigation bar at the top. You can see the slide menu
![]() with chapter markers and
thumbnails to help you understand the contents of the presentation. Also, there is
information on how many slides there are e.g. 10 and ‘left’ and ‘right’ arrows to
navigate.
with chapter markers and
thumbnails to help you understand the contents of the presentation. Also, there is
information on how many slides there are e.g. 10 and ‘left’ and ‘right’ arrows to
navigate.
b) On Desktop, press the left and right keys on your keyboard to browse the contents
of the presentation, if you press the down key it will take you to the end of the
presentation and the up key back to the start. Hovering your mouse at the top of the preview
screen will reveal the navigation bar and you can see the slide menu with chapter markers
and thumbnails to help you understand the contents of the presentation. Also, there is
information on how many slides there are e.g. 10 and ‘left’ and ‘right’ arrows to navigate.
When you’ve finished viewing the presentation:
a) On iPad, simply click the ‘Done’ button on the bottom left hand corner to go back
to the ‘Browse Presentations’ section.
b) On Desktop, hover to the top bar of the open preview screen and click the cross
![]() on the top left of the screen.
on the top left of the screen.
To see an iPad demonstartion on how to browse a presentation see here.
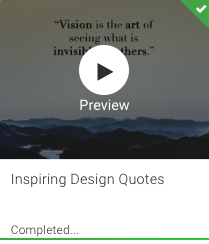
If you would like to download a presentation, please click the thumbnail and click where it
says download as below. You will then get a a Green Tick ![]() on the thumbnail indicating it has been successfully downloaded
and will appear in your ‘Downloaded Presentations’ section.
on the thumbnail indicating it has been successfully downloaded
and will appear in your ‘Downloaded Presentations’ section.

When downloading a presentation it is always a good idea to use a strong WIFI Internet connection with a good download speed.
The app will download over 3G mobile connections but this is not recommended. A strong 4G mobile connection should be fine.
‣ 4 Downloaded Presentations (offline)
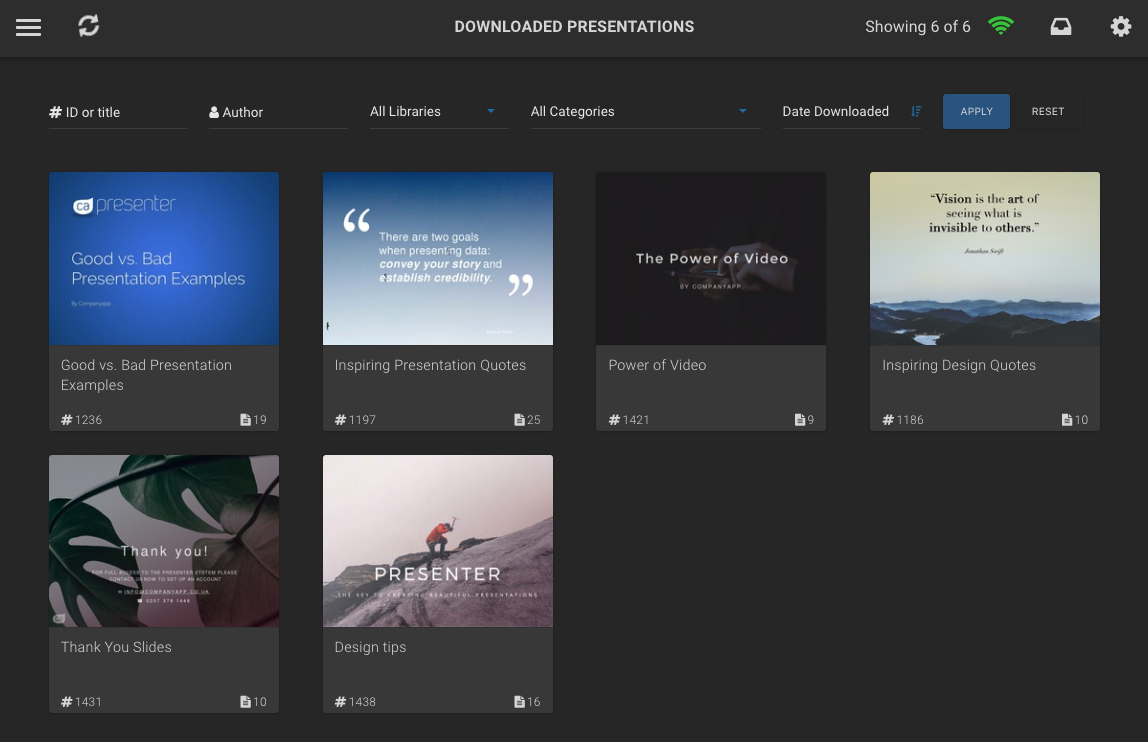
This is where you view your presentations offline and after you have downloaded them from the ‘Browse Online’ section. This is the part of the App you should use to present to internal team members and clients. See below on how to view and navigate these presentations for both iPad and Desktop.
a) On iPad:
To move from one slide to another simply swipe using your finger. This works as expected on static, or largely static content.
Sometimes, if the slide contains a lot of interactive content you may need to find a specific area (often the top or bottom of the slide) of the slide in order to move to the next slide. This is because the interactive content itself might be recognizing the swipe gesture as something related to its functionality – not the general ‘move to the next slide’ functionality.
Please Note: On the tablet version of the app – when you view a downloaded presentation – it will open in a fullscreen mode with no obvious navigation controls. In addition to moving from slide to slide you can simply swipe left or right. For more options, swipe down in the middle of the screen to reveal the normal viewer controls. A short video to demonstrate this is here: https://youtu.be/18vozhscTTg
The top navigation menu consists of 4 main elements: slide menu thumbnails, chapter labels, autoplay and a back button. See below for more information:
- Slide menu
 : There are thumbnails
to represent each slide in the presentation menu. You can swipe the thumbnails to
navigate the presentation. If you click on a thumbnail that slide will load in the
viewer.
: There are thumbnails
to represent each slide in the presentation menu. You can swipe the thumbnails to
navigate the presentation. If you click on a thumbnail that slide will load in the
viewer.
- Thumbnails: There are thumbnails to represent each slide in the presentation
menu. You can swipe the thumbnails to navigate the presentation. If you click on a
thumbnail that slide will load in the viewer.
- Chapter labels: Select one of the chapter labels to move to that section of the
presentation. Tapping a chapter label moves the thumbnail of the first slide in that
section to the first position in the thumbnail carousel. Tap the thumbnail to load the
slide.
- Auto Play
 : If required you can
have an auto play feature enabled which means the presentation will move automaticaly
onto the following slides after your selected time interval.
: If required you can
have an auto play feature enabled which means the presentation will move automaticaly
onto the following slides after your selected time interval.
- Back button
 : This ‘cross’ button
takes you back to the main menu.
: This ‘cross’ button
takes you back to the main menu.
Also, do note when viewing a video in a slide on iPad to stop viewing it midway through and move to the next slide you need to press ‘pause’ and then swipe left or right to do this.
b) On Desktop, there are some differences:
To move from one slide to another simply press your left and right arrows on your keyboard, or alternatively press the arrows in the top right hand corner. If you press the up key it takes you to the end of the presentation and the down key takes you to the start of the presentation.
Also, if you want to access the navigation menu on the Desktop app, just hover your mouse at
the top of the viewer window and it will drop down and appear – here can access all of the
functionality like the slide menu ![]() , fullscreen mode
, fullscreen mode ![]() , chapter markers and auto play
, chapter markers and auto play
![]() features.
features.
The viewer only holds a certain number of slides in memory at any one time. So if you click on a slide that is further down the presentation order you may see a loading progress icon while the slide loads. Remember this is dynamic content, not static content – each slide is effectively an offline web page – so there is sometimes a short load time when new slides are called.
Furthermore – if you notice that a red tick has appeared on a presentation ![]() – this tells you that there is an
update to the presentation and you should re-download it so that you are using the latest
version.
– this tells you that there is an
update to the presentation and you should re-download it so that you are using the latest
version.
‣ 5 Browse Documents (online)
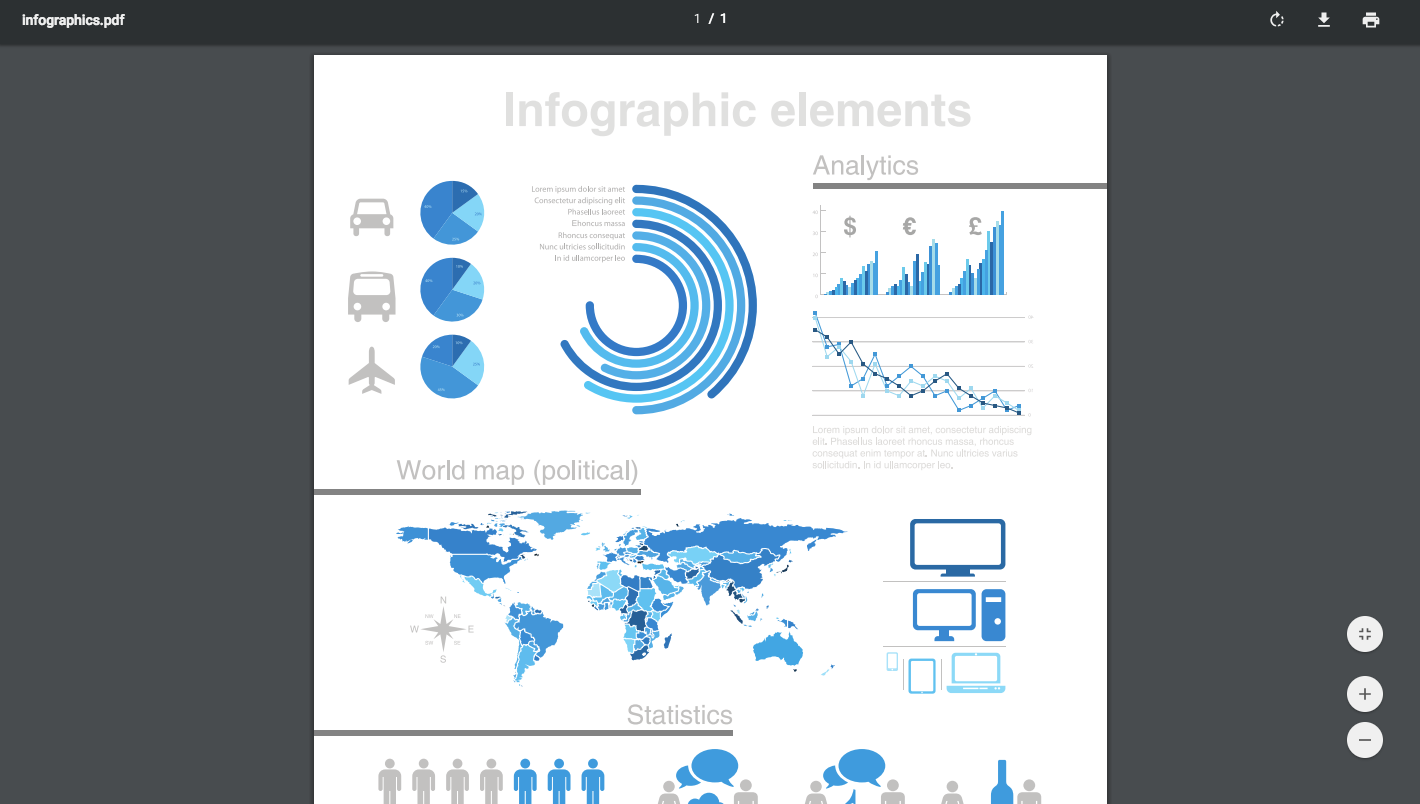
The Browse Documents section is intended for non-presentational, or non-client facing content. It is primarily intended for PDF documents.

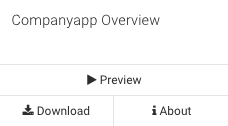
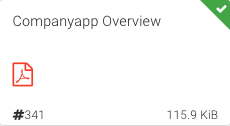
In your Browse Documents section you can preview documents within your domain (as below) to see if you may want to download any document.
If you would like to download a document, please click the thumbnail and click where it says
download as below. You will then get a a Green Tick ![]() on the thumbnail indicating it has been successfully downloaded
and will appear in your ‘Downloaded Documents’ section.
on the thumbnail indicating it has been successfully downloaded
and will appear in your ‘Downloaded Documents’ section.
You can now head to your Downloaded Documents section (offline) to view the document fully anytime including without an internet connection.
N.B. Unlike the presentation viewer – the document viewer will display content in both portrait and landscape orientation. Just turn your iPad through 90 degrees to achieve this.
‣ 6 Downloaded Documents (offline)
When in your Downloaded Documents (offline) section you can view documents you have downloaded.
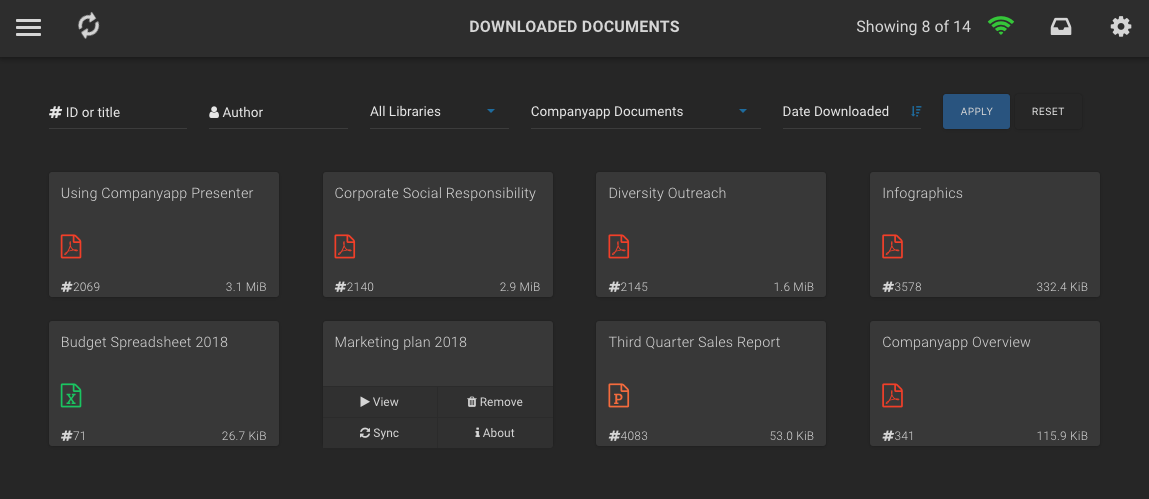
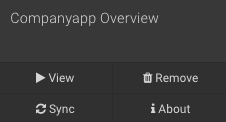
The below options are also available when you touch or hover the document thumbnail depending on the device you are on:
- Sync: Allows you to check for updated versions of the document.
- Remove: Allows you to delete the document. You will be asked to confirm that you
want to do this.
- About: Reveals a short description of the document.
- View: Opens the document in the iPad’s helper application – usually the native PDF viewer. Once open in the viewer you should tap the ‘Done’ button at the top left of the screen to return to the document library. Alterntively, if you are on the Desktop app it will open in a seperate window in your default document viewer.
Furthermore – if you notice that a red tick has appeared on a document ![]() – this tells you that there is an update to the document and you
should re-download it so that you are using the latest version.
– this tells you that there is an update to the document and you
should re-download it so that you are using the latest version.
N.B. Unlike the presentation viewer – the document viewer will display content in both portrait and landscape orientation. Just turn your iPad through 90 degrees to achieve this.
‣ 7 Message Inbox
Your Administrator may send you a message via the App’s in-built messaging system. These messages will appear in your Message Inbox.
Each time the app syncs to the system it checks for any new messages. If there is a new message for you an alert will pop up on the main screen to inform you. You will be directed to the Inbox page. However you can visit the Inbox at any time to re-read or delete any previous messages.
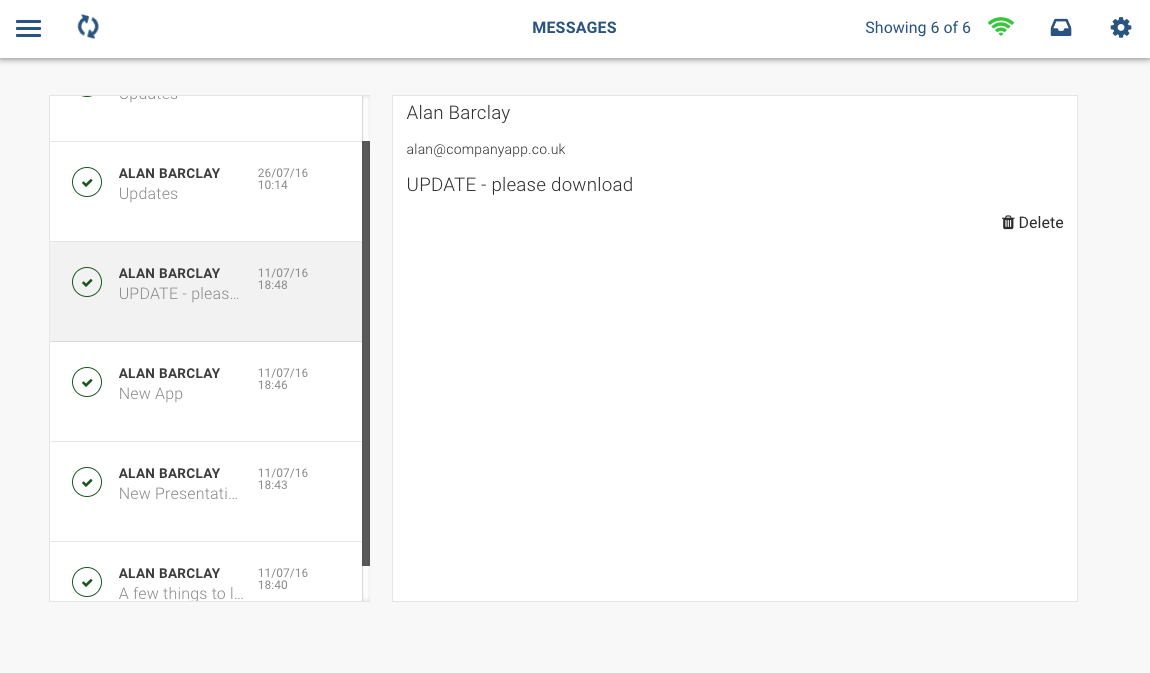
The Inbox consists of:
- Read / Unread icon: Displays which messages have been read and which have
not.
- Title: The title or header of the message.
- Date and time: The date and time the message was sent.
- Delete icon: Allows you to delete the selected message.
- Message viewer: View your message on the same screen.